Farmigo Basics > System Basics > How do I add images to my member links?
How do I add images to my member links?
|
Photos are a powerful tool in encouraging consumption - pun intended - as members will be much more likely to buy an extra weekly option if it is accompanied by a mouth-watering photograph. You can include pictures for Shares, Options, Producers, and Store Items.
|
Where do I insert images? Where do images appear?
You can use the image editor to upload and edit images to:
- Shares and options - When members go to choose a share or option at signup, they will see this image.
- Store items - When members go to choose an item from the web store, they will see this image.
- Producers -When members click "Details" for a subscription or store item and then click the Producer tab, they will see this image.
How do I use the Image Editor?
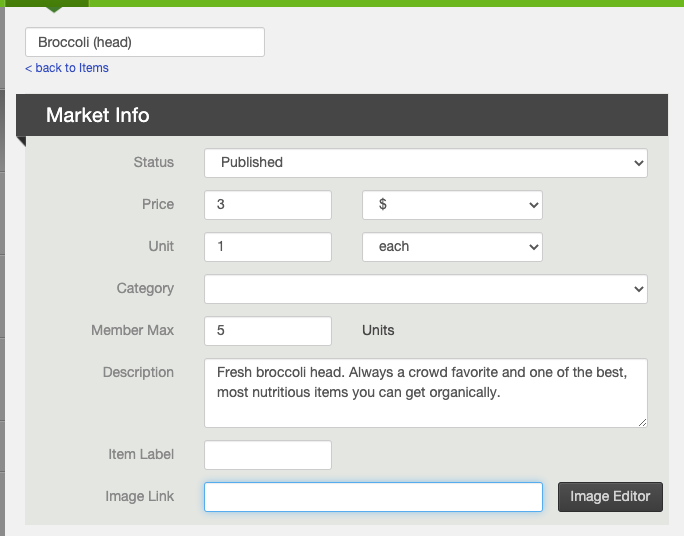
Go to Logistics --> Items, and open an existing item or click + New Item
Go to Logistics --> Items, and open an existing item or click + New Item
- On the left hand side under Market Info click the "Image Editor" button. (Make sure your pop up blocker is turned off.)
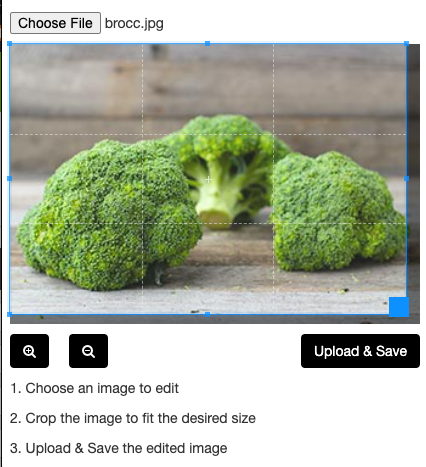
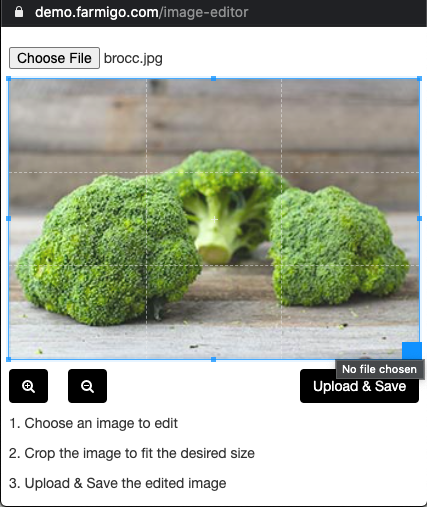
- In the window that appears, click Choose File to upload your image.
- Use the crop tool to adjust your image. Then click "upload & save".
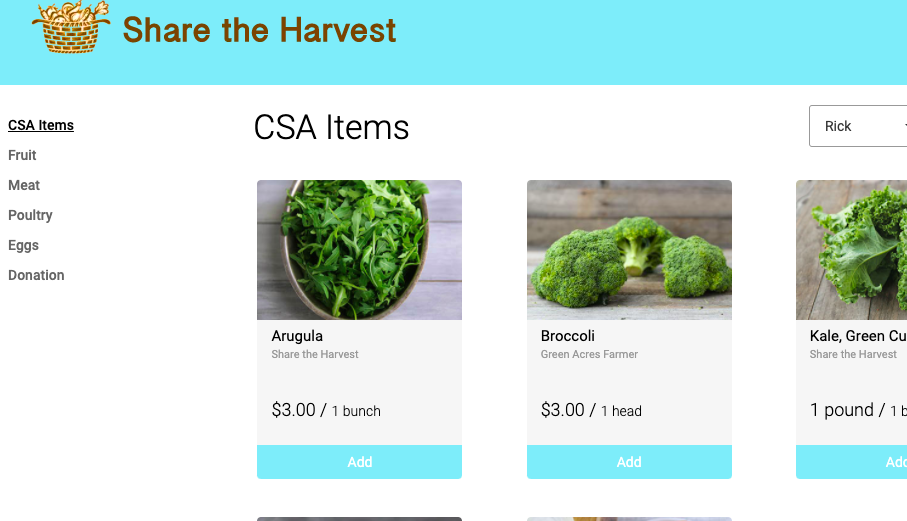
- The image appears on the item in the store.
How Do I Add My Logo?
|
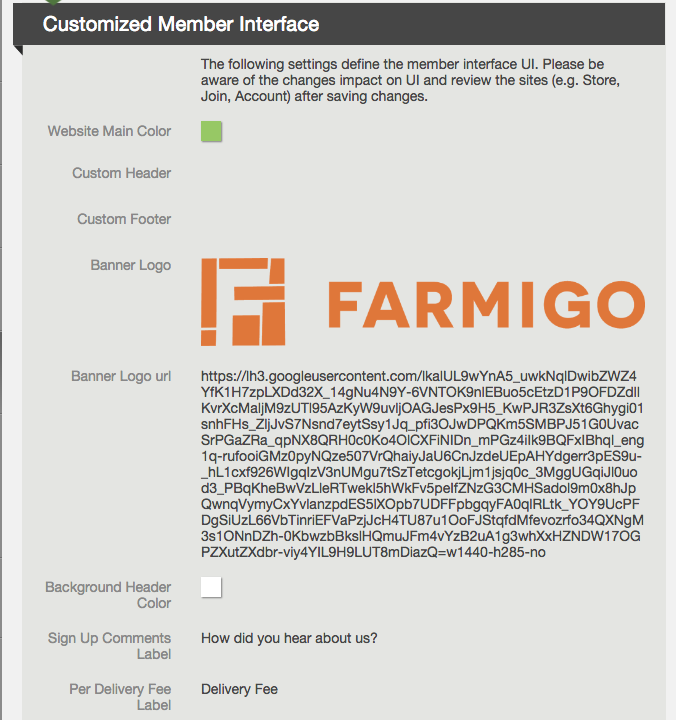
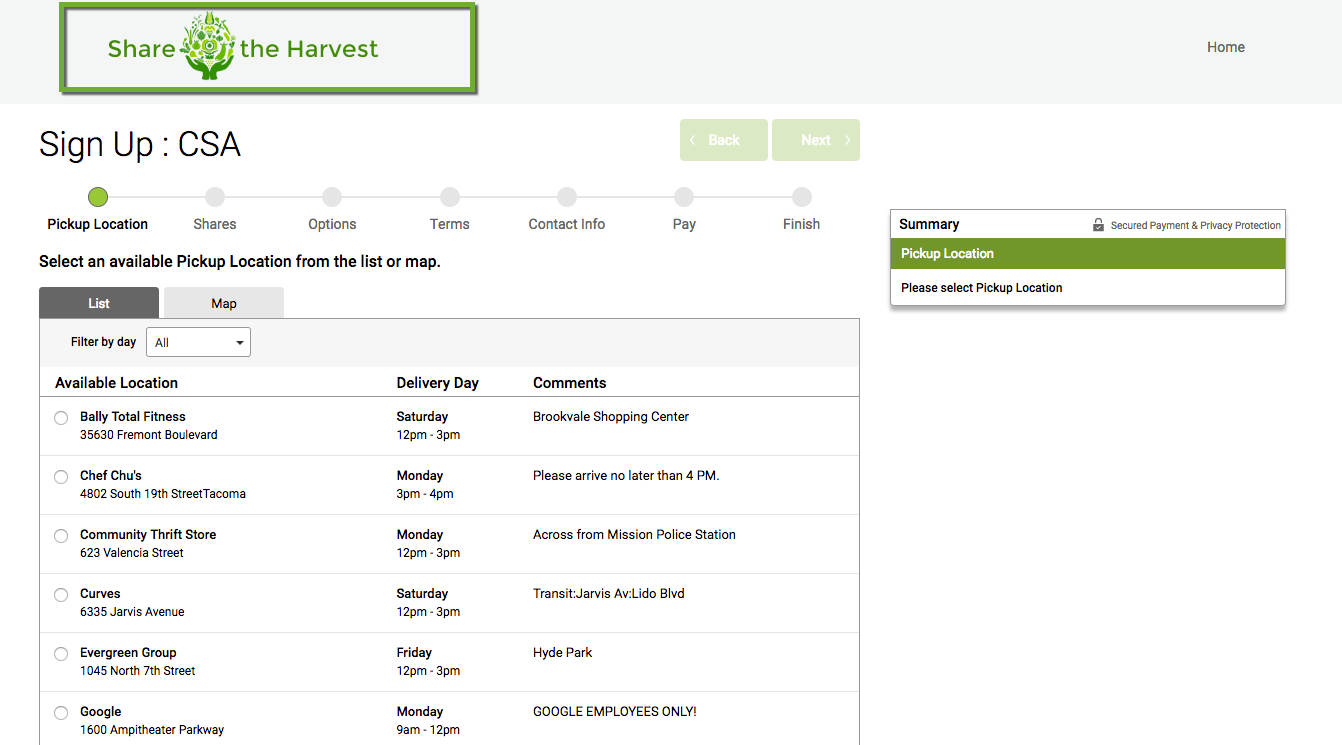
Your Banner Logo
In order to integrate your own images for your logo into your Farmigo system, the image must be hosted online and sized appropriately. To view a list of options for photo libraries - click here This image will appear at the top of your member interface. It should be no bigger than 442 pixels long and 73 pixels tall. Upload the logo into your Image Library, and then copy and paste the link into the dashboard under Settings --> General Settings --> Customized Member Interface |

